Measurement Clarification

Before you try any of my recipes I feel I should clarify one thing. When it comes to measurements in tsp or tbsp I don't use an exact tsp or tbsp measurement. I use a literal silverware tablespoon full or literal silverware teaspoon full. What does this all mean? Each tablespoon or teaspoon is closer to double if you're measuring an exact tablespoon or teaspoon.


Showing posts with label Dessert. Show all posts

Friday, November 2, 2012

Scrumptiously Split Soufflé

They can seem scary to the uninitiated but there's no need to fear. A few simple ingredients, some simple instructions and TLC in exchange for a delectable and savory treat. Best of all, you don't even have to decide which flavor to have since you can have them both at once! As if that wasn't enough you top off your heavenly vanilla and chocolate puffed goodness with Grand Marnier crème anglaise!

Yield: 4 Small Ramekins

Ingredients:

Vanilla Half:
  • 2 Egg Whites
  • 1 Egg Yolk
  • 1 tsp Vanilla
  • 1 tbsp Grand Marnier
  • 1/4 Cup Sugar
  • 13g Flour
  • 1/4 Cup (1/2 cream 1/2 milk mixture)
Chocolate Half:
  • 2 Egg Whites
  • 1 Egg Yolk
  • 2oz Chocolate
  • 24g Sugar
  • 13g Flour
  • 1/4 Cup (1/2 cream 1/2 milk mixture)
Additional Items:
  • Grand Marnier Crème Anglaise (Recipe Here)
  • Parchment Paper
  • Butter
  • 4-5 tbsp White Granulated Sugar
Recipe:

First, go ahead and chop up your chocolate.


Cut some squares of parchment paper roughly the width of the ramekin.


Butter all the sides of the ramekins and place a tbsp of sugar in the bottom. Rotate the ramekin until all sides are evenly coated with the sugar, discard the extra sugar.


Combine 1/4 cup milk and 1/4 cup heavy whipping cream in a pot. Put over low to medium heat until brought to a low boil. Whisk occasionally to prevent burning.


While waiting for the milk/cream mixture to come to a boil in separate bowls add the egg yolk, sugar and flour for the respective vanilla and chocolate portions.


Whisk together the ingredients in each bowl.


Melt the chocolate, it is easiest to use the microwave in 15-20 sec pulses, stir, then repeat until melted. Transfer this to the "chocolate" bowl and whisk together.


By this time the milk/cream mixture should be at a low boil.


Add 1/4 cup of the cream/milk mixture, vanilla, and Grand Marnier to the "vanilla" bowl and whisk together.


Next add 1/4 cup of the cream/milk mixture to the "chocolate" bowl and whisk together.


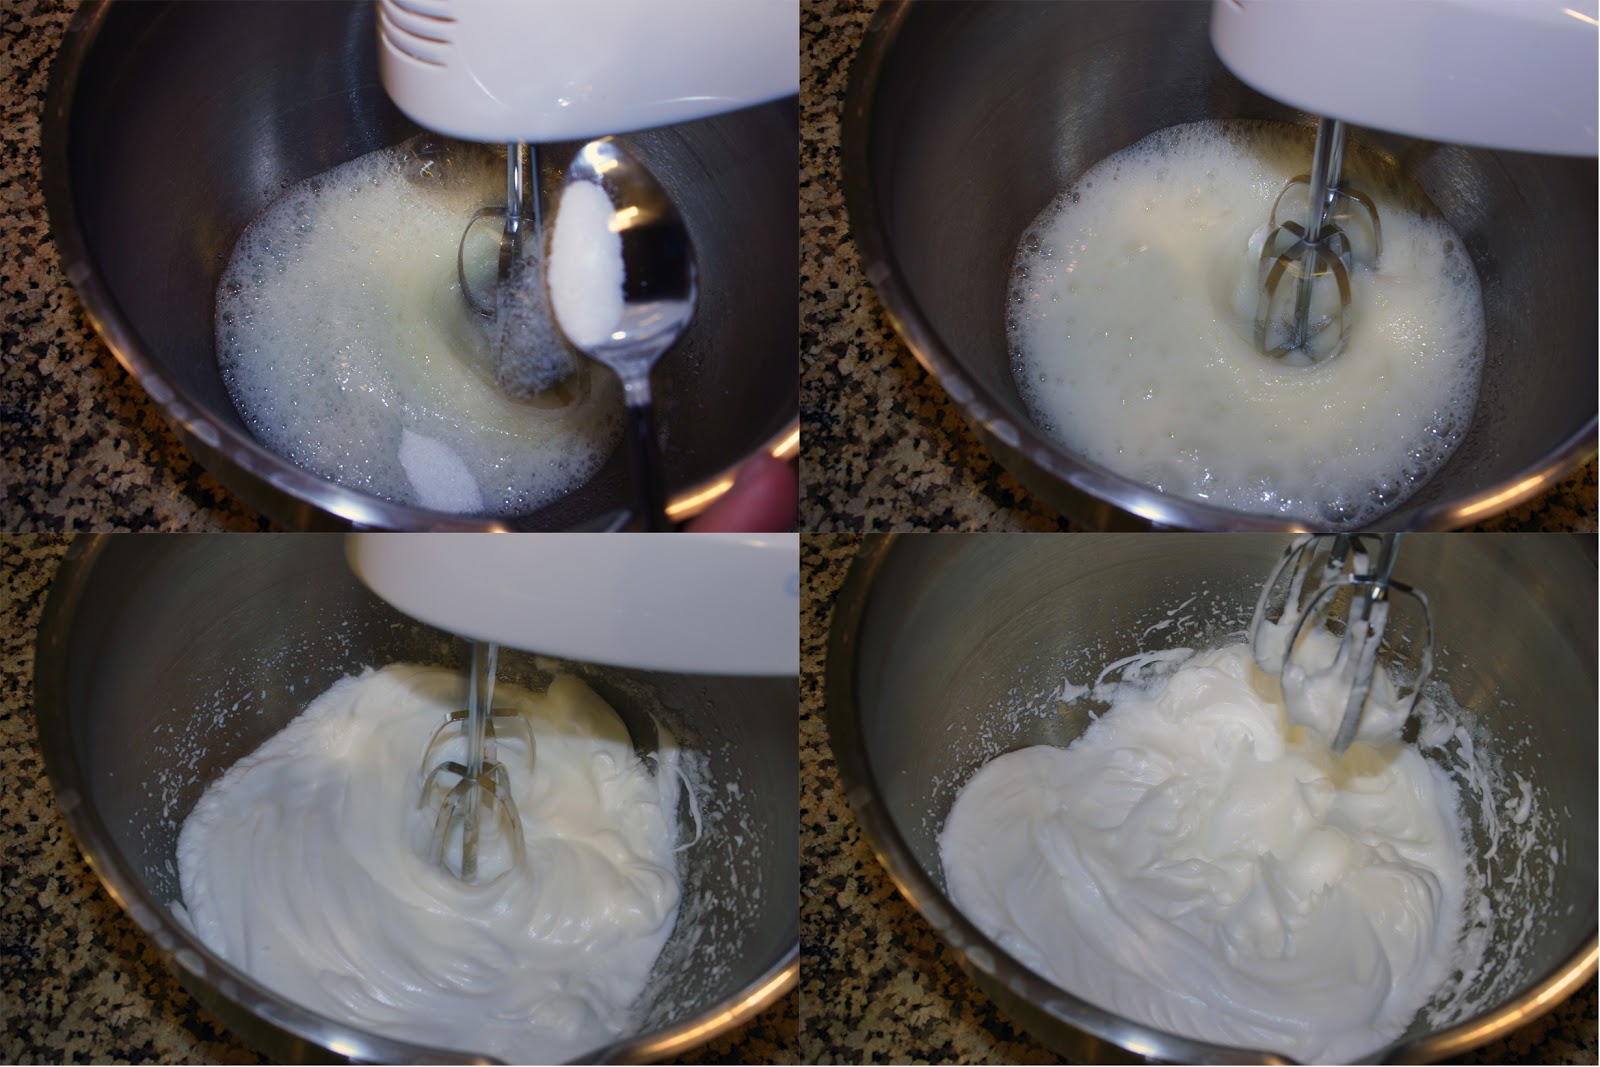
In a third bowl, add the 4 egg whites. Beat with a mixer until they begin to froth then add a tbsp sugar. Continue to beat until the egg whites are whipped enough to form stiff peaks.

Add half of the egg whites to the "vanilla" bowl and fold together with a spatula (don't fold more than necessary to mostly mix the two).


Do the same for the "chocolate" bowl.


Position one of the parchment sheets in the center of a ramekin and fill from side to side the vanilla and chocolate fillings.


Continue until the ramekins are filled then quickly remove the parchment papers from each of the ramekins.


Arrange the ramekins in an oven dish and fill with boiling water until half way up the sides of the ramekins.


Bake at 375F for roughly 27min or until the tops are browned.


Pull apart the soufflé with a fork and pour in the Grand Marnier crème anglaise. Serve immediately.

Grand Marnier Crème Anglaise

It often steals the show in Soufflés or any concoction it's used in, and I'm sure no one would complain if you replaced their milkshake with it. It's creme anglaise of course! Throw in some Grand Marnier and it's hard to stop drinking it on its own (I know soo bad). So here it is, easy Grand Marnier anglaise to use on anything or nothing (few more push ups will make up for it :).

Yield: ~1 1/2 Cup

Ingredients:
  • 1/2 Cup Milk
  • 1/2 Cup Heavy Whipping Cream
  • 4 Egg Yolks
  • 1/2 Cup White Granulated Sugar
  • 3 tbsp Grand Marnier
Recipe:

Whip together the egg yolks and sugar.


In a pot add the milk and cream.


Put over low to medium heat until brought to a low boil. Whisk occasionally to prevent burning.


Slowly add the cream/milk mixture to the egg sugar mixture and whisk constantly until combined.


Add in the Grand Marnier and you're done. Simple as that!


Sunday, August 19, 2012

Cordially Creamy Crème Brûlée

It's one of those desserts that you don't get very often but if you are having one you want it done right. That can be easier said than done, rock hard custards, paper thin sugar layers, non-crunchy sugar layers, and watery custards abound. Well now you need not search for perfection when it's only as far away as your kitchen.

Yield: 2 3/4 Cup Custard Filling, or 5 Small Ramekins

Ingredients:
  • 2 Cups Heavy Whipping Cream
  • 8 Egg Yolks
  • 1 Vanilla Bean
  • 1/2 Cup White Granulated Sugar
Additional Equipment:
  • Blow Torch
Recipe:

Slice the vanilla pod down the center through the outer layer of skin and spread open. Scrape the seeds out using your knife.


Place the seeds and vanilla pod in a pot containing the cream.


Bring the cream to a low boil whisking occasionally,then turn off the heat, cover and allow to sit for 10min. Then remove the lid and return to a low boil whisking occasionally.


While returning the cream to a boil, add the sugar to the egg yolks.


Whisk together.


Through a strainer, add the hot cream to the egg mixture and whisk constantly while adding.


The key is to ensure a LOW boil on the cream, too hot and you will end with large pieces of cooked egg. Strain the mixture to remove any small pieces of cooked egg that might have formed. Some is OK, but too much and you'll have to restart.


Fill your ramekins with a little over 1/2 Cup in each and place in a baking pan.


Fill the pan with boiling water about half way up the sides of the ramekins.


Place in the oven at 250F for 1hr. Check for doneness. When shaken the outer edge should be completely set and not jiggle while the center should jiggle with the consistency of jello. It may take 10-15min more to achieve this and usually the crème brûlées will not finish at the same time. Allow to cool to room temp, cover with plastic wrap and place in the fridge overnight.


When ready to serve evenly sprinkle about 1tsp sugar over the top of the crème brûlée.


Now comes the fun part, using your blowtorch apply even heat over the surface of the crème brûlée. Continue until the sugar is evenly browned but not burnt.


Allow to cool for a few minutes before touching. You can serve right away, or chill for 20-30min in the fridge then serve, but who wants to wait?

Thursday, July 5, 2012

Peachy Cobbler

Cobbler is so yummy and easy to make. It's also a great way to get rid of that fruit on the counter that you bought with the best intentions of having as a healthy snack but keeps getting pushed back until it spoils. So really, you're a food waster unless you make this cobbler; so do your due diligence to the environment and make this cobbler NOW!

Yield: 1 9 x 13 pan

Ingredients:

Topping:
  • 250g Flour (Roughly 2 Cups)
  • 1 1/4 Cup Milk
  • 6 tbsp Salted Butter
  • 60g White Granulated Sugar
  • 2 tsp Baking Powder
  • 1 tbsp White Granulated Sugar + 1/2 tsp Cinnamon + 1/2 tsp Nutmeg for Topping
Filling:
  • 6 Cup Peaches (Roughly 5)
  • 2 tbsp Salted Butter (melted)
  • 1/2 Cup White Granulated Sugar
  • 1/2 Cup Brown Sugar
  • 2 tbsp Flour
  • 1 Lemon (juiced)
  • 1 tsp Nutmeg
  • 2 tsp Cinnamon
Recipe:

Filling:

Dice peaches into half slice pieces. Place in the pan, add lemon juice, white sugar, brown sugar, butter, flour, cinnamon and nutmeg. Mix all ingredients well until peaches are covered.


Topping:

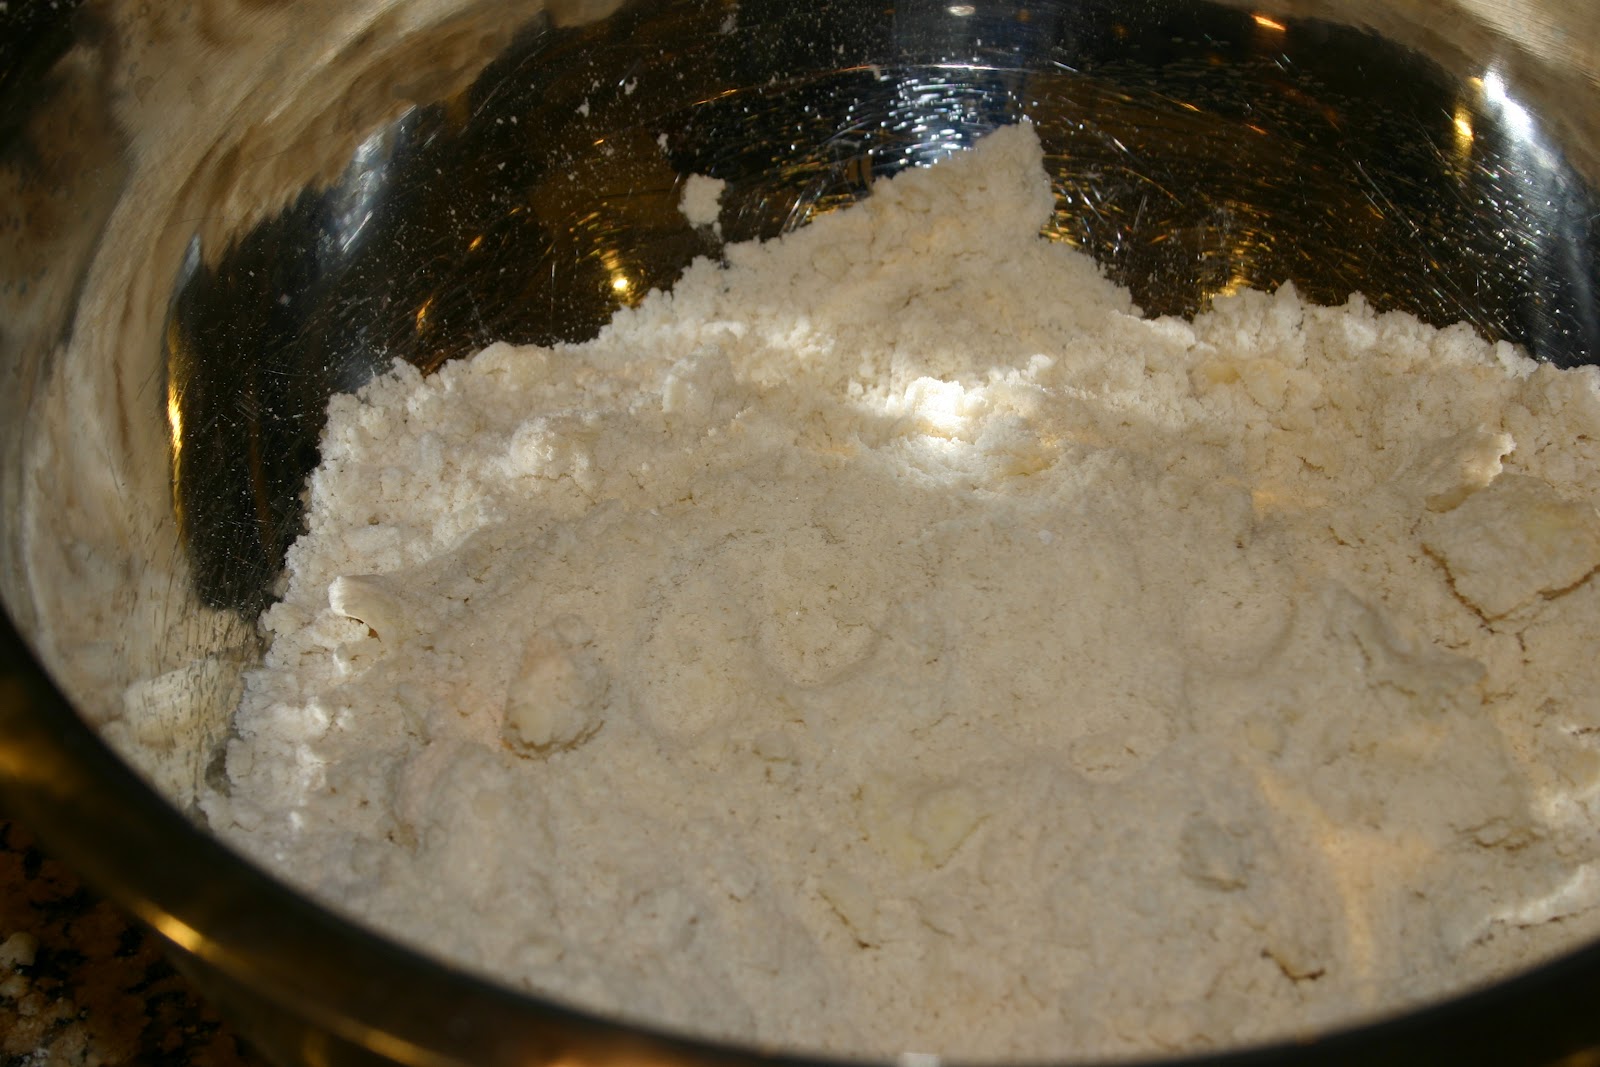
In a bowl, mix together the flour, sugar, and baking powder. Add in the butter cold and chopped into pieces. Mix together in a food processor or by hand until the mixture has a crumbly texture.


Add in the milk and mix until fully incorporated and resembles a thick batter.


Add the topping on top of the filling, sprinkle on the sugar, cinnamon and nutmeg for topping.


Bake at 375F for 35-40min until the topping starts to brown.


Let this cool down a bit then serve it up!!

Thursday, June 14, 2012

Delicious Fruit Tart


Been to a bakery lately and noticed how fruit tarts cost astronomically more than a regular cake? I get that fruit isn't exactly cheap but tarts are so easy compared to making a whole cake as you will soon see. Besides, a fruit tart is the best dessert you can have because it's not really dessert. How can something with fruit on it be unhealthy? So get ready to put your baker to shame and make this delicious dessert I mean healthy snack at a fraction of the cost (plus it tastes much better).

Yield: 1 10'' fruit tart

Ingredients:

Crust:
  • 188g Flour (Roughly 1 1/2 Cup)
  • 1/2 Cup Salted Butter (1 stick or 8 tablespoons)
  • 50g Sugar (Roughly 1/4 Cup)
  • 1 Egg
Filling:
  • 350ml Milk (Roughly 1 1/2 Cup)
  • 1 Vanilla Bean
  • 60g Sugar
  • 23g Flour
  • 23g Corn Starch
  • 4 Egg Yolks 
Topping:
  • Desired assorted fruits
  • 3-4 tbsp Apricot Preserves
  • 1 tbsp Water
Recipe:

Crust:

Beat the butter and sugar together with a mixer until creamy.


Add in the egg and flour and beat together until a dough forms. If the dough won't form together add a little more flour until it all comes together.


Roll out the dough to 12''


Place the rolled dough in the tart pan and lightly press against the bottom and sides. You may have to reassemble of the edges, no worries. Prick a few holes in the bottom of the crust for good measure.


Bake the crust at 350F for 15-17min or until the crust is lightly browned and set.


While the crust is cooling get to work on the custard filling.

Filling:

Slice the vanilla bean length wise through the first layer. Pour the milk in a sauce pot and scrape in the vanilla seeds. Place the bean in the pot as well.


Bring the milk up to a low boil, whisk occasionally to prevent sticking to the bottom.


While the milk is coming up to temp, in a bowl add the eggs and sugar and whisk together. Next, add in the flour and corn starch, whisk until incorporated.


Pour the hot milk into the custard mixture through a sieve while whisking constantly.


After fully mixed, transfer the custard back to the sauce pot and over med-low heat whisk constantly until the custard starts to thicken to the desired consistency. If you over-do it the egg will cook, form lumps, and get really thick.


Transfer to a bowl or ramekin, remove any lumps of cooked egg (some are bound to happen) and refrigerate.


Microwave the apricot preserves and water in a small bowl for 15-20sec or until dissolved. Remove the crust from the refrigerator and brush the shell with the preserves. Allow to dry for 15-20min or stick in the freezer for a few minutes.


Add the custard to the shell.


Topping:

Arrange your desired fruit in any pattern you want. It doesn't even need to look pretty because it will be gone before anyone else sees it.


Now quick, eat your HEALTHY SNACK!!!